Common Problems in Metal Eyelet Installation and How to Avoid Them
Apr 13, 2026
Last Tuesday, a production lead from a Wuxi tarpaulin workshop called us mid-shift. Their new batch of corner eyelets was failing inspection, not because the components were defective, but because nearly fifteen percent came loose during pull-testing. The machine settings had not changed, and the material was the same grade they had used for months. When we walked through the installation process step by step, the issue became clear. A recent maintenance check had slightly adjusted the pneumatic press pressure, and the operator had not recalibrated the crimp depth gauge. The eyelets looked acceptable at a glance, but the washer had never fully seated against the barrel.
At Wuxi Xinchao Garment Accessories Co., Ltd., we have supported hundreds of manufacturers in troubleshooting installation issues since 2009. The most frequent problems we encounter on production floors rarely stem from bad parts. They almost always trace back to small, compounding mismatches between material thickness, tooling condition, crimp force, and inspection criteria. These mismatches only reveal themselves under real production conditions, which is why theoretical specifications often fall short on the shop floor. Below is a straightforward, narrative breakdown of the most common metal eyelet installation challenges and the practical adjustments that consistently prevent them.
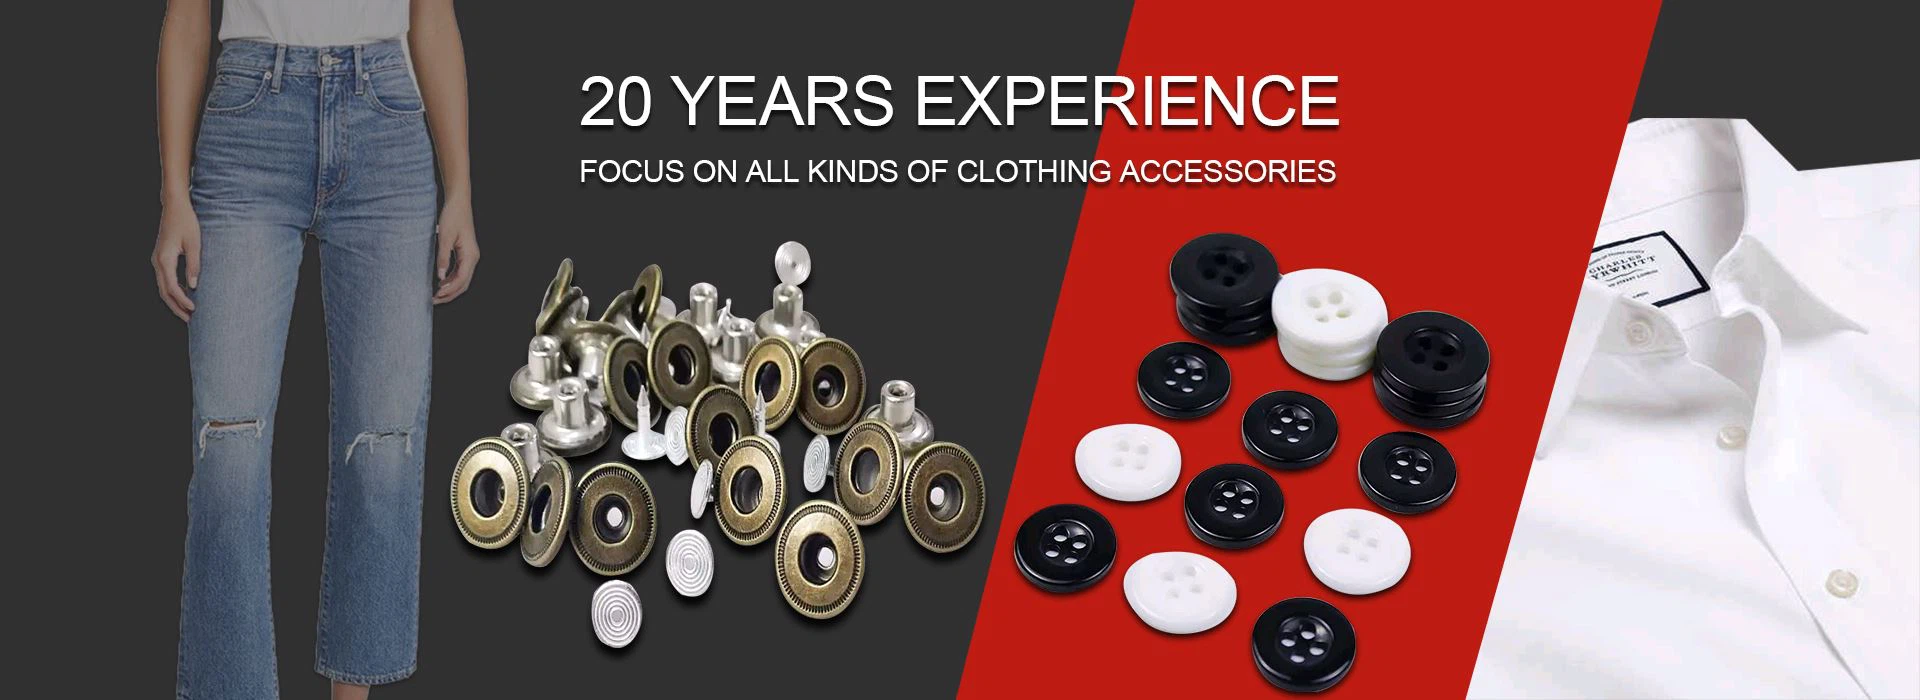
One of the most recurring issues involves eyelets that spin freely or feel loose immediately after crimping. This rarely indicates a manufacturing defect. More often, it points to a slight mismatch in crimp force or barrel length. When pneumatic pressure drops even marginally during routine line adjustments, the washer may not fully deform against the barrel. Similarly, if the barrel length does not account for the total material stack-up plus an extra millimeter or two for proper mechanical interlock, the assembly never achieves full retention. Worn tooling or inconsistent fabric compression can compound the problem, especially when working with multi-layer or foam-backed substrates. Preventing this starts with verifying pressure directly at the tool head rather than relying solely on the remote regulator gauge. Measuring the exact material thickness at the installation point and selecting a barrel that matches that dimension plus a small allowance for crimp formation usually resolves the issue. Regular die inspections and pre-compressing variable-thickness materials before piercing also help maintain consistent crimp quality across long production runs.
Another common failure mode appears when the eyelet holds firmly but the surrounding fabric tears radially from the flange edge under load. This typically happens when the flange is too narrow for the material strength, concentrating stress into a small contact area. Placing the hole too close to the cut edge or using sharp, unrolled flange edges can accelerate tear propagation, particularly in flexible or woven substrates. Over-crimping can also shear fibers at the perimeter, creating immediate weak points that fail during tension testing. The solution lies in matching flange width to the expected load profile and material properties. For dynamic outdoor applications on fabrics thicker than half a millimeter, flanges of eight millimeters or wider generally distribute tension more effectively. Maintaining a minimum distance of fifteen to twenty millimeters from the fabric edge and specifying rolled-rim flanges for flexible materials significantly reduces stress concentration. Monitoring crimp force to ensure the washer seats fully without cutting the base fabric completes the preventive approach.
Misalignment becomes a major operational headache when eyelets drift from their marked positions, causing uneven hanging or downstream assembly bottlenecks. Manual marking errors are an obvious culprit, but automated feeding systems can also lose registration over extended production runs if they are not recalibrated at regular intervals. Flexible materials tend to shift during punching if they lack proper clamping, and worn punch-and-die assemblies that are no longer concentric will naturally produce off-center holes. We find that implementing simple jig plates or positioning fixtures eliminates most of the guesswork in high-volume runs. For automatic lines, verifying alignment every fifty to one hundred pieces using a reference template keeps drift in check. Securing lightweight or stretchy fabrics with vacuum tables or mechanical clamps before the punch engages prevents material shift, while weekly concentricity checks using a dial indicator ensure the tooling stays within acceptable tolerance.
Barrel buckling or cracking during installation usually points to excessive force, poor material quality, or incorrect die geometry. When crimp pressure exceeds what the alloy can withstand during deformation, the metal fractures rather than folds smoothly. Lower-grade brass or improperly annealed steel lacks the ductility needed for clean forming, and universal dies that do not match the specific barrel profile create uneven stress concentrations during compression. Cold forming without adequate lubrication generates friction heat that further compromises structural integrity. The most reliable way to avoid this is to validate crimp force on actual production samples before scaling up. Starting with lower pressure and incrementally increasing it until the washer seats completely helps identify the optimal setting. Sourcing eyelets from certified suppliers with documented tensile properties, using manufacturer-recommended dies, and applying a light silicone-based lubricant for high-volume runs dramatically reduces deformation rates.
Rust or white corrosion appearing at the washer-barrel junction after short-term outdoor exposure often surprises manufacturers who assume the base metal alone determines longevity. In reality, incomplete plating coverage, residual forming lubricants that trap moisture, or galvanic mismatch between dissimilar metals can initiate rapid degradation. Fingerprints or forming debris left on the components during handling also create ideal starting points for oxidation. Preventing interface corrosion requires attention to both material specification and post-processing. Specifying a minimum plating thickness with full coverage verification, requesting ultrasonic cleaning to remove residual oils before packaging, and avoiding mixed-metal assemblies eliminate the most common triggers. For critical marine or coastal applications, adding a light post-installation sealant to the crimp zone provides an additional barrier against moisture ingress without compromising mechanical function.
Rough edges, fiber pull-out, or irregular hole diameters typically stem from dull cutting tools, incorrect punch-to-die clearance, or insufficient backing support. When a die edge wears beyond its optimal sharpness, it tears through coated or laminated fabrics rather than shearing them cleanly. Clearance that is too tight forces excessive pressure through the material, while clearance that is too wide leaves burrs and uneven edges that weaken the surrounding substrate. Material deflection during punching also distorts the cut, especially in softer or quilted fabrics. Maintaining a disciplined tool maintenance schedule, sharpening or replacing dies before the edge radius exceeds acceptable limits, and adjusting clearance to match material thickness usually restores clean cutting. Adding a rigid backup plate to support the material during punching prevents deflection and ensures consistent hole geometry across every cycle.
Before committing to full production runs, we always advise manufacturers to walk through a quick verification process on the shop floor. Confirming the exact material thickness at the installation point ensures the barrel length will accommodate proper crimp formation. Matching flange width to the load profile and maintaining adequate edge distance prevents premature tearing under tension. Calibrating crimp force to the specific material and eyelet combination, then documenting that setting, creates repeatable results across shifts. Inspecting tooling alignment and running a small batch of test pieces for pull-validation catches hidden mismatches before they become costly rework. Taking the time to verify these fundamentals consistently pays off in reduced reject rates and more reliable field performance.
When clients reach out about installation challenges, our application team focuses on diagnosis rather than immediate replacement quotes. We review process photos, material specifications, and equipment settings to isolate whether the root cause lies in tooling, technique, or environmental factors. For persistent issues, we supply pre-production samples for controlled trials and provide updated calibration guidelines tailored to the specific application. One tarpaulin manufacturer recently used this collaborative approach to resolve recurring loose-eyelet complaints. After adjusting crimp pressure and switching to a slightly longer barrel for their multi-layer fabric, their installation reject rate dropped dramatically, and long-term field performance improved measurably. If you are working through an installation challenge, we have prepared a practical troubleshooting reference based on years of floor-level experience. Simply share your material specifications, equipment type, and the specific issue you are observing. Our engineering team will review your setup and provide targeted recommendations within one business day. No pressure, just practical guidance that aligns with how your production line actually runs.


